Your bouquet is a statement piece, a focal point during the ceremony. You want it to be a show-stopper- so why not make it yourself?
Making a DIY flower bouquet for your wedding day is a great way to save money and add a personal touch. All you need is your dream flowers, some floral tape, and imagination to make your bouquet come to life.
If you’ve decided to roll up your sleeves and make your own bouquet, you’ve come to the right place. This article will teach you how to make the best DIY flower bouquet to showcase your style and creativity.
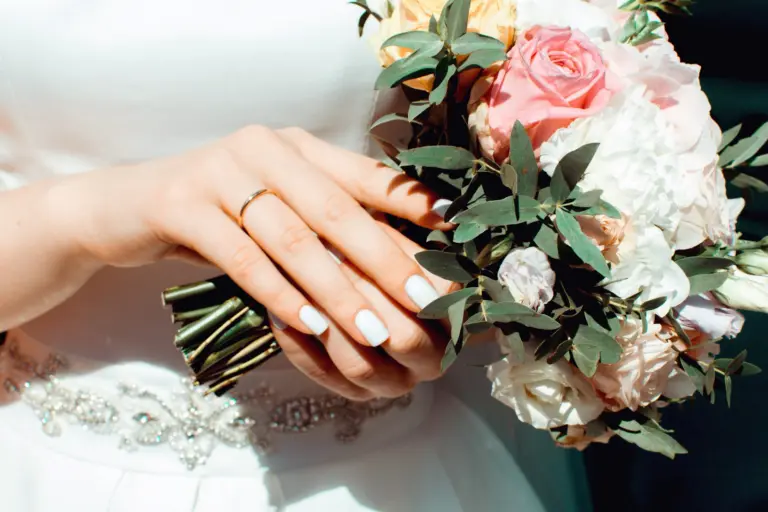
https://www.pexels.com/photo/woman-holding-white-and-pink-roses-bouquet-916340/
DIY Bridal Bouquet (Six Simple Steps to Your Dream Bouquet)
Step 1: Order Flowers
To help you choose the perfect flowers for your arrangement, imagine the colors and textures you want inside your bouquet. Considering the desired size of your bouquet will also help.
Once you have a vision, it’s time to order your flowers. You can purchase flowers wholesale for fairly cheap, but you must ensure they remain in water with some flower food to keep them beautiful and healthy.
Step 2: Gather Materials
To DIY your wedding bouquet, you will need the following:
- Flowers
- Floral tape
- Colored ribbon
- A bucket
- Flower food
- Gardening gloves
- Floral shears
- Floral wire
- Pins
Step 3: Start With a Foundation of Greenery
Greenery helps give bouquets an additional whimsical charm, as well as a great flow and shape. Eucalyptus, Ruscus, leather fern, and ivy are all popular choices!
Use your hand as a makeshift vase to start building the foundation of your bouquet. To help you visualize, hold the stems halfway down from the length you want.
Step 4: Add in Focal Flowers
While the greenery is the base, the focal flowers are the show-stoppers. These are the flowers that will immediately catch people’s attention. Add in as many of these flowers as you want, using one large bloom per stem.
It is common to have multiple focal flowers, as many as three different types, in your bouquet. Roses, sunflowers, hydrangeas, and mums make great show-stopping focal flowers.
If the flowers have thorns, remove those before using them!
Step 5: Add in Fillers
Now that you have a base and a focal point, it’s time to fill it all out. Add more greenery and smaller blooms, such as baby’s breath, to finish your picture-perfect bouquet.
Needing to rearrange your focal flowers and greenery is common at this stage. Fill in every aspect to ensure there are no gaps. Keep working on it until you are pleased with the shape and size.

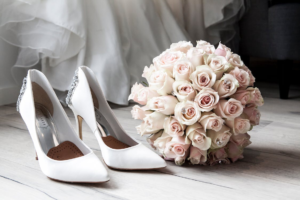
https://www.pexels.com/photo/wedding-preparation-313707/
Step 6: Secure and Finalize the Bouquet
Tie the stems with floral wire. Cover the wire with about 2 to 4 inches of floral tape. Wrap your chosen ribbon around the floral wire and secure it with a pin.
Finally, cut the stems to your desired length, leaving a few inches below the ribbon.
Keep the bouquet in a vase with about 2 inches of cool water. And you’re done!

